How Students Who Design set up Figma in their online classroom


In this guide, we’ll walk through how we onboard students, organize our files, teach classes, and provide project feedback with Figma for our online course.
Share How Students Who Design set up Figma in their online classroom
This guide is brought to you by Students Who Design.
Students Who Design (SWD) is an online platform for learning product design. They are currently teaching a free online course called Introduction to Digital Product Design—helping many graduates secure their first design job through their mentorship program, blogs, and podcast. They’ve been teaching their design courses virtually through Figma since their inception.
Note: Figma is free for students and educators! Apply here.
Online design classes offer students greater access to education and more flexibility to learn on their terms. As more coursework moves online, educators are faced with the unique challenge of teaching design remotely.
In this guide, we’ll walk through how we onboard students, organize our files, teach classes, and provide project feedback with Figma for our online course. We’ve also included some examples from our set-up and a list of other tools we’ve found helpful along the way.
Let’s dive in:
1. Pre-Class Set-Up
Onboarding Students
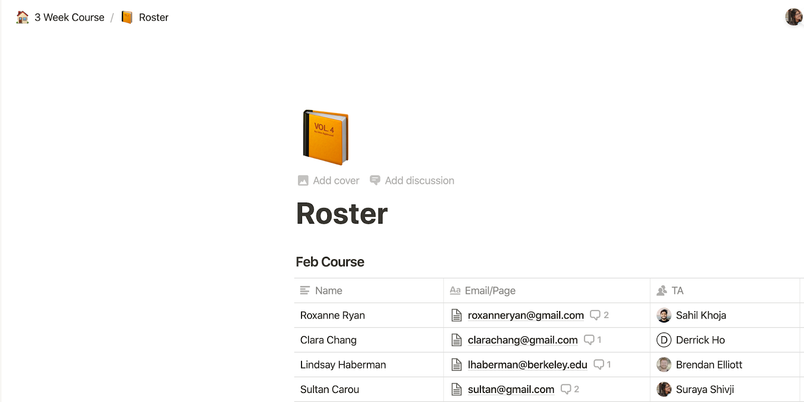
Once we have our course roster, it’s time to get all of our students into the same Figma workspace.
Step 1: Ask students to create a personal Figma account at figma.comWe ask all of our students to create a personal Figma account before starting the course. We also ask them to play around in the editor to get familiar with the user interface and basic controls so that we can dive right in on the first day. Anyone can get started on Figma for free (with full editor functionality), so all we have to do is ask them to sign up directly with Figma to get started.
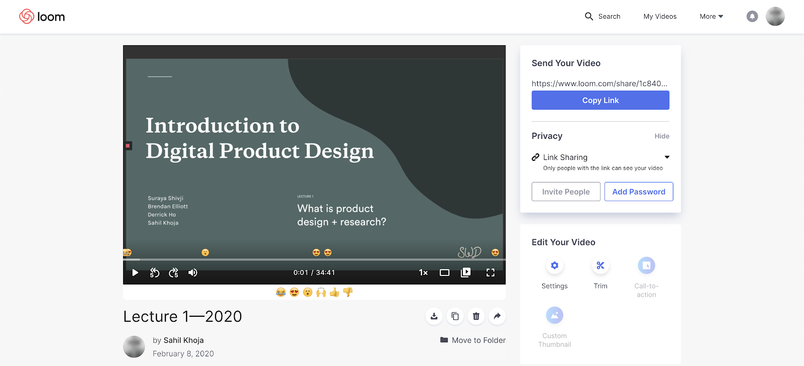
Step 2: Invite students to our Figma account as an editorOnce our students confirm they have an account, we invite them to our SWD team. This way, they can view our lectures and start familiarizing themselves with Figma. We also use Loom to record audio over each slide so that students can receive pre-recorded lectures.

Structuring Files
We implemented a structured file and naming system so that we could support as many students as possible while keeping our workspace organized.
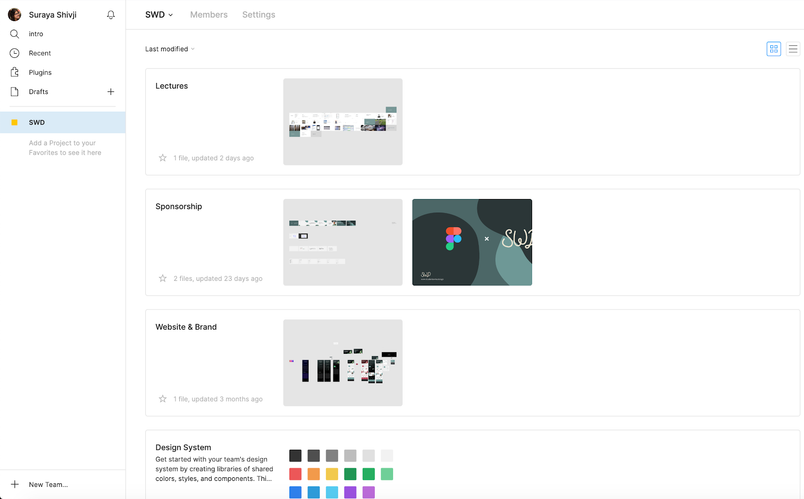
Step 3: Organize instructor courseworkSince we keep our coursework in the same account as student files, our team uses projects and naming conventions to organize our lectures, sponsorship initiatives, and brand assets. Using projects allows us to continuously improve our curriculum and initiatives in one space while giving current students feedback and guidance in another.
Step 4: Ask students to create a file according to our naming conventionsEvery student in our course follows a standard naming convention for their Master Figma file (we use: Intro DPD: Name). Following a naming convention allows us to search student work quickly and have everything related to the course in one place.
2. Teaching in Figma
We decided to orient our course around a hands-on exercise to improve Messenger. Students can watch the pre-recorded lectures and take notes at their own pace. Assignments, however, have a specific weekly deadline after which an instructor provides feedback. The 3-week course starts with research and design principles, then goes into a class-wide brainstorm for prioritizing feature improvements, and concludes with each student completing their own high-fidelity user flow.
Note: We know there are so many different ways that educators can teach design. This section will probably be the most helpful for educators offering a similar flavor of coursework; if that’s not your course, you may want to skip to the next section.
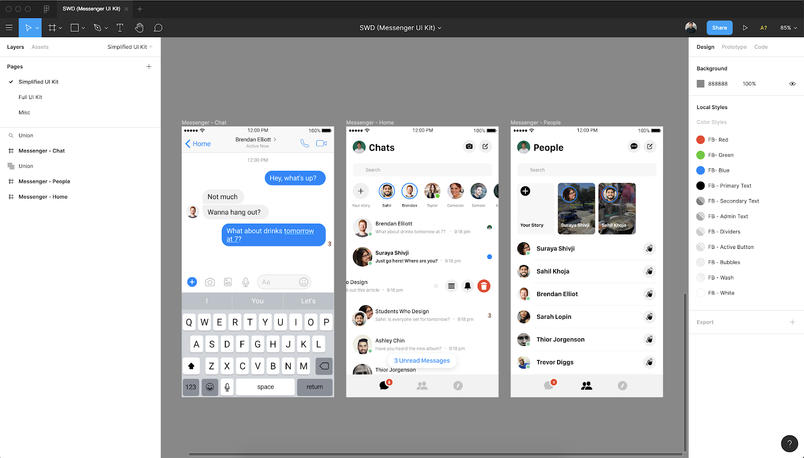
Step 5: Share a UI Kit and Template to get things startedIn order to keep everyone's work organized and to reduce the initial inertia of 'creating from scratch', every student starts by duplicating a master Figma file. Here's the master file we use for our course. It contains the basic building blocks for Messenger.
Step 6: Get students designing in their own fileNow that students have an their own file with a foundational UI Kit, they can work through assignments and document their progress.
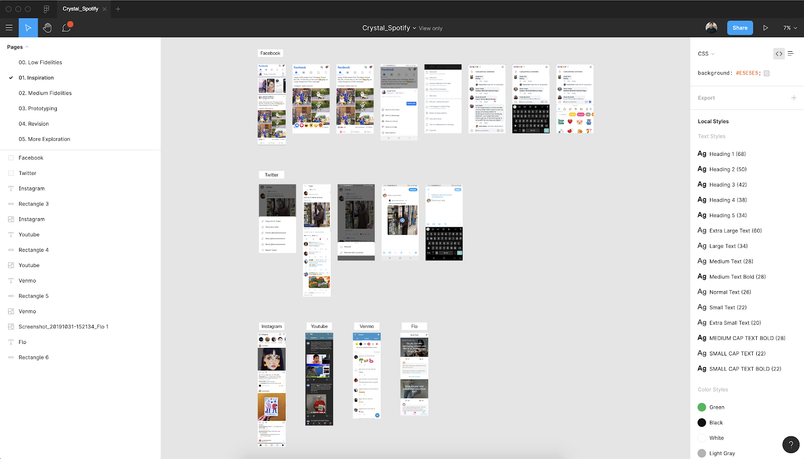
Since our lectures and assignments build toward a case study, we recommend that our students use Pages to organize their design process. This also makes it easy for educators to hop into a file to check in on student progress. We suggest that pages include:
- A number to make scanning simple
- A title describing the fidelity of design or what to expect in the page
- A page devoted to exploration, inspiration, and revision

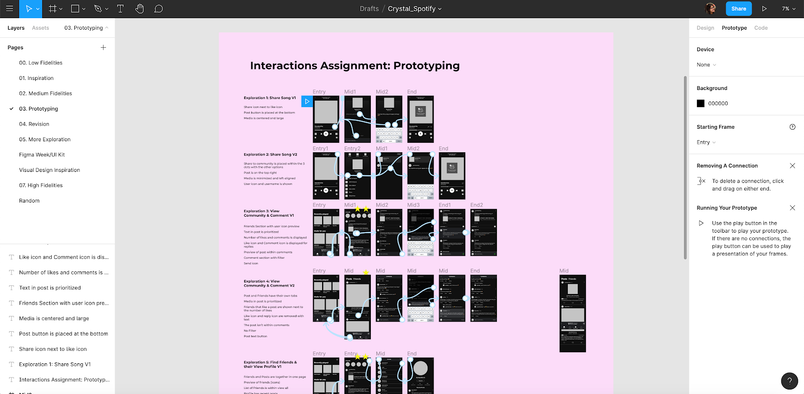
In the example of our third assignment, students take what they've been conceptualizing and designing in the first two assignments and make a Figma prototype. Since students work out of the same file throughout the course, they can make a prototype from the same file and share it easily with instructors for feedback.

3. Providing Design Feedback
We do our best to make critique and feedback a key feature of our course. Both are such an essential part of the design process, and they are especially critical for new designers.
Step 7: Keep an eye on student progressStaying close to a student’s work without having to physically look over their shoulder is one huge benefit of teaching online and Figma makes this especially easy. Dropping into a student’s page helps us easily see what assignments they have completed and what they're exploring. We can also asynchronously keep updated with a student's progress without spending a lot of time zooming in and out of pages or creating a stressful “hovering” moment for students.
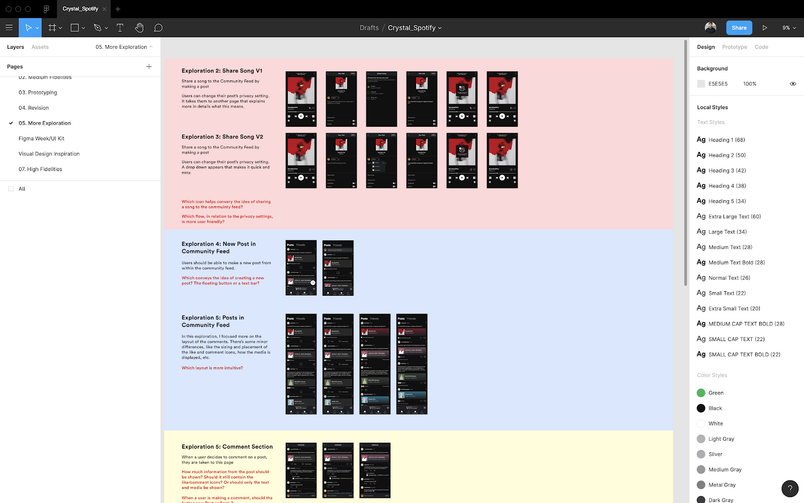
Students often use text boxes in their workspace to remind us what people problem they're solving or delineate explorations:

Step 8: Critique each other’s workWhen we critique, we try to help students validate that they are both solving the correct problem and solving the problem correctly.
We use commenting (liberally) for asynchronous feedback while work is still in-progress.
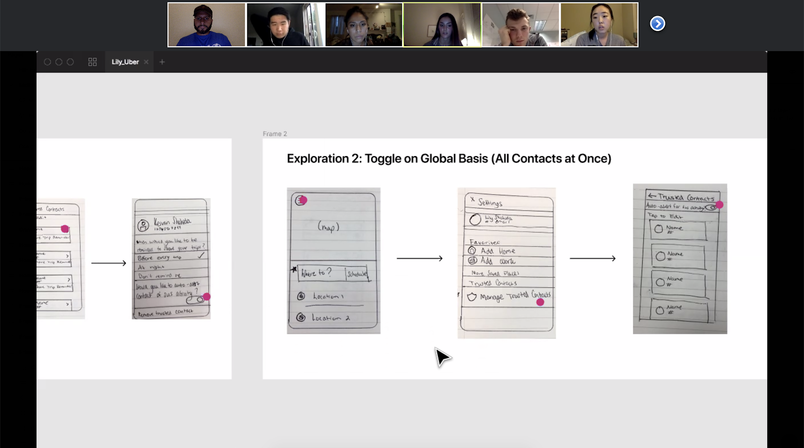
We also do “live” critiques that not only build community but also give our students a feel for what a professional critique would feel like. We get a small group of students and instructors onto a Zoom call and bring everyone into the Figma file for the session. Students learn how to give feedback, receive feedback, and communicate clearly what they want feedback on:

4. Offboarding
After students finish each assignment and receive instructor feedback, they are free to stay in our Figma account and continue working on their case studies indefinitely. Since case studies are iterative and can always be improved, it’s really helpful for students to have continued access to SWD lectures, their past assignments, and instructor feedback.
Other Tips and Tools
- We leverage Zoom for group critiques and community building.
- We pre-record lessons with Loom so that students can listen to prepare for class.

- Slack is really great for communication, collaboration, and async critiques with students.

- Behind the scenes, we use Notion as a CMS to keep track of student files. This way, each instructor can easily see a snapshot of all the students and easily link into their Figma files.

- We create two versions of a UI kit: a simplified version and a full-featured version. While an exhaustive UI Kit (fonts, colors, spacing, etc) is helpful, it can be overwhelming for students to pick and choose among many components. Having a simplified UI Kit (most necessary visual elements) allows students to get started with foundational components before heading over to the exhaustive kit for more specific needs. With a Figma, you can have a master file in your team library that everyone has access to. Additionally, this allows you to have unlimited projects, version history, and shareable team libraries.

Interested in learning more about SWD? Sign up for our free 3 week course here.
Figma is free for students and educators. Apply here.