A step-by-step guide to using Figma for retrospectives


Retrospectives can be an easy, lightweight way to introduce your team to a new tool.
Share A step-by-step guide to using Figma for retrospectives
If your team has adopted either the agile or scrum methodologies for software development, you probably do a lot of retrospectives. They allow for the team to come together at the end of a project or sprint and evaluate how things went by writing on a whiteboard (or post-its).
There are a few drawbacks to this approach. It can be a bit intimidating to stand up and write in front of an audience. Furthermore, not everyone in the room can read each other's hand-writing, and usually only a few people at a time can fit in front of the board.
That's why I recommend using Figma for retrospectives instead. Because Figma is multiplayer, everyone can jump in the file at the same time and see each other's text easily. Figma's collaborative features (like commenting) ensure every person in the room can contribute. Lastly, if you're hoping to convince your team to switch to Figma, retrospectives are a lightweight way to introduce them to the tool and pique their curiosity.
To get you started, I put together this step-by-step guide (with an accompanying template) on how to use Figma for retrospectives.
File sharing and permissions for retrospectives
Step one in a retrospective: Create a Figma file for everyone to jump into together (or duplicate the template I created). Sharing a file is easy — once inside it, simply navigate to the top menu bar and locate the large blue “Share” button on the right. You can then choose to invite each person by email address, or simply create and share a public link. Just make sure the file is editable for anyone with that link first!
Frames for retrospective categories
Just as you might divide a whiteboard into sections for a retrospective, you can divide the Figma canvas by using frames. In the linked template, there are three frames, one for each retrospective category:
- What should we continue doing
- What should we stop doing
- What should we start doing
In each of the frames, I've added constraints to the various child elements, such as the header and the backgrounds. Constraints in Figma allow you to specify how elements inside behave when the frame is stretched or shrunk. So now if you resize the retrospective frames (to give people more room to type, for example), everything inside them will automatically adjust.
Sticky note components for retrospective feedback
When people jump into your Figma file, you'll notice colorful multiplayer cursors appear. For those who are new to our collaborative tool, it can be fun and exciting to watch them moving around.
I’ve included a few “sticky note” components that make it easy for people to quickly add their comment or suggestion to a category frame. To duplicate the sticky note master component, either select it and press Command + D, or hold Option/Alt while dragging.
Figma components allow for overrides, so people can change elements inside the sticky note instances (such as text, color, and effects) without breaking the component. Thus, each editor can adjust their notes to make them feel like their own.
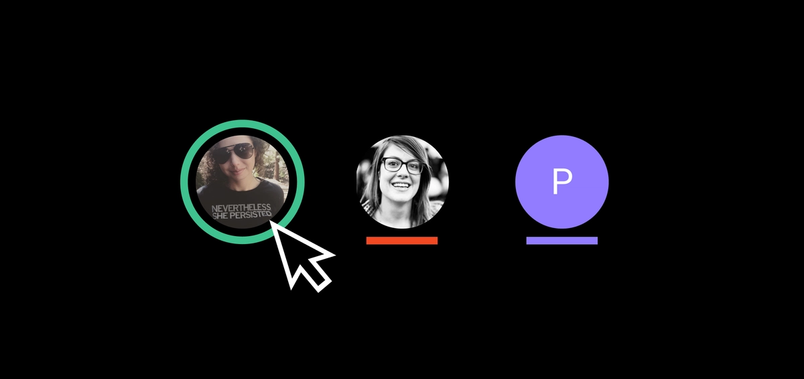
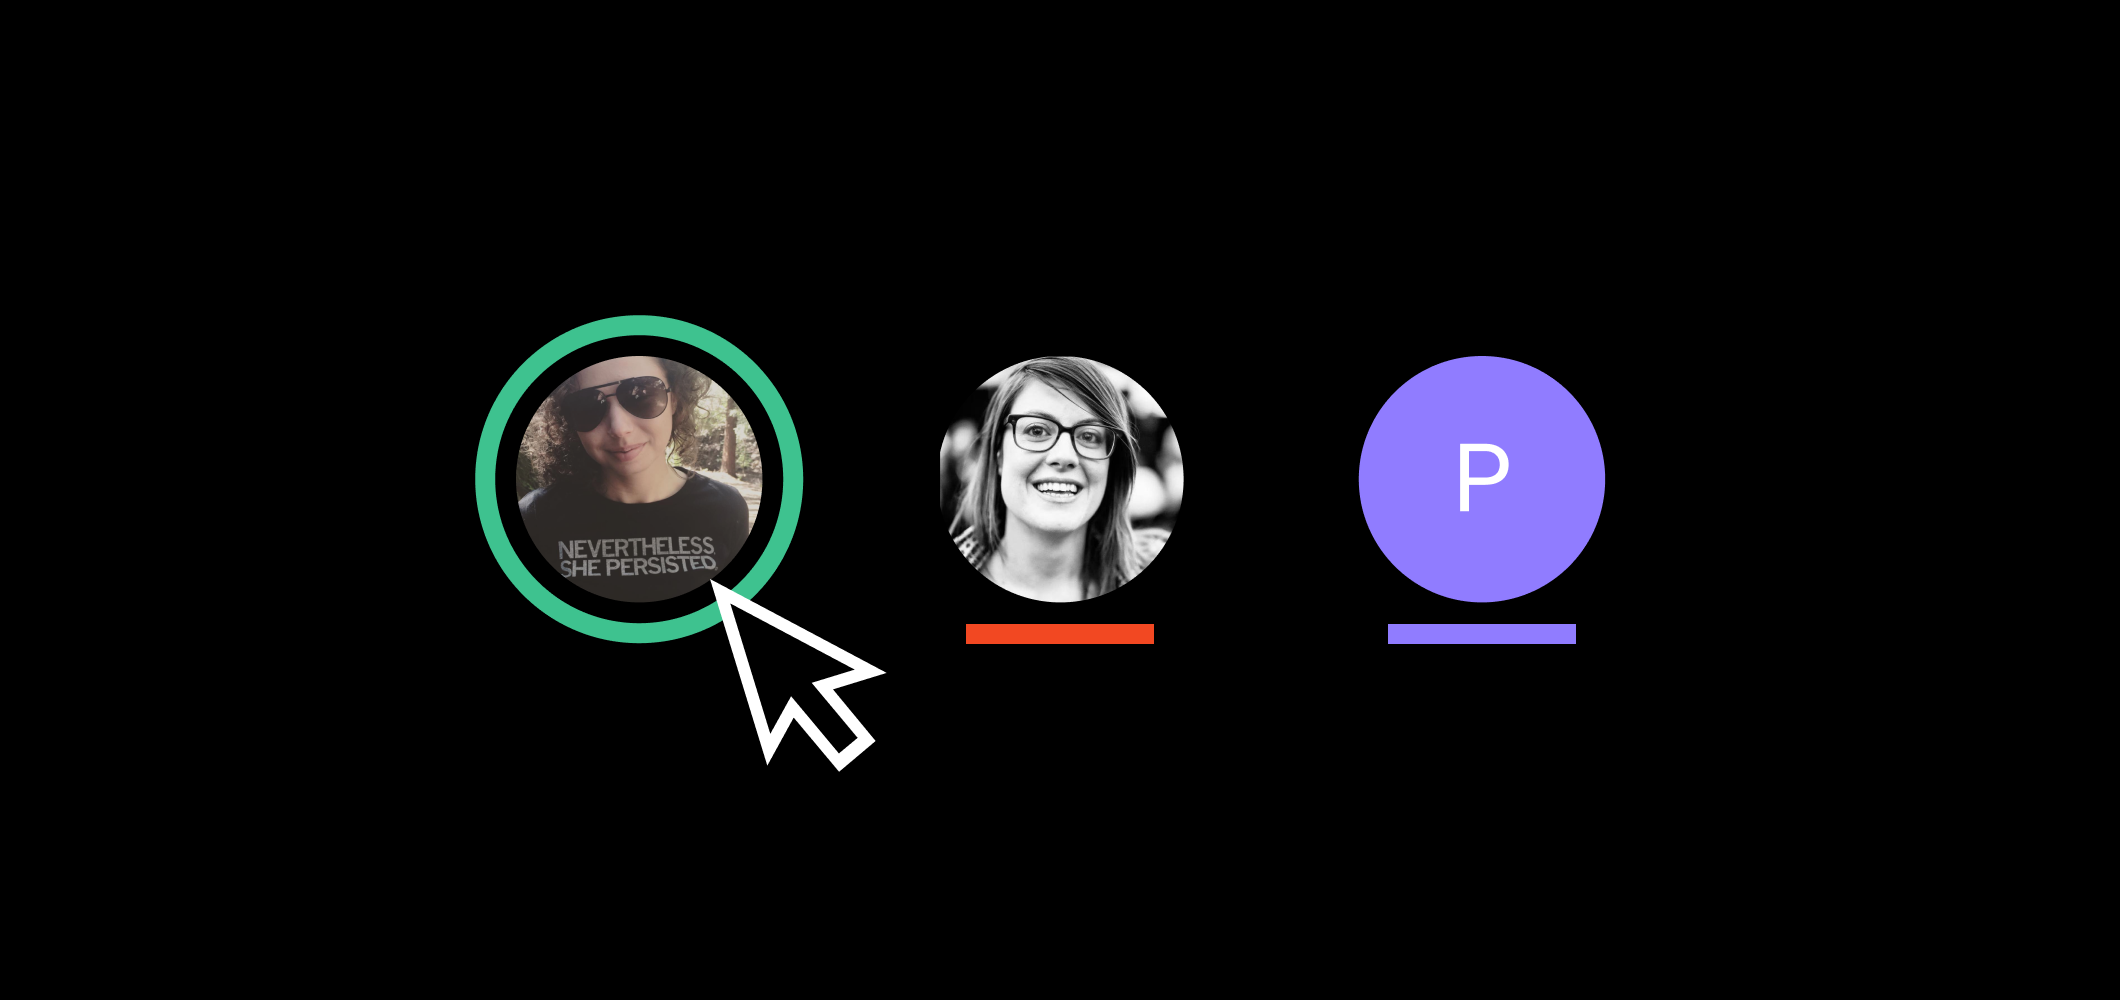
If you have remote folks on your team, using Figma for the retrospective can help people feel more included and involved. You don't have to point a computer camera at the whiteboard and hope for the best — everyone can see what is happening on screen. (They can even click others' avatars At Figma we suspect some of our small (but mighty!) power features go unnoticed.
Figma feature highlight: Observation Mode
Making it work for you
This retrospective template is meant to be a starting point for you and your team. If you want to make the file feel like more of your own, here are a few ideas:
1. Add your company’s logo and brand color
In the template, I’ve included a component you can use as a way to include your company’s logo in the retrospective. This can be a nice touch if you choose to export the frames after the meeting. In the Styles panel on the right, you’ll also see a style, ready to be customized with your company’s brand color(s).
2. Create new components
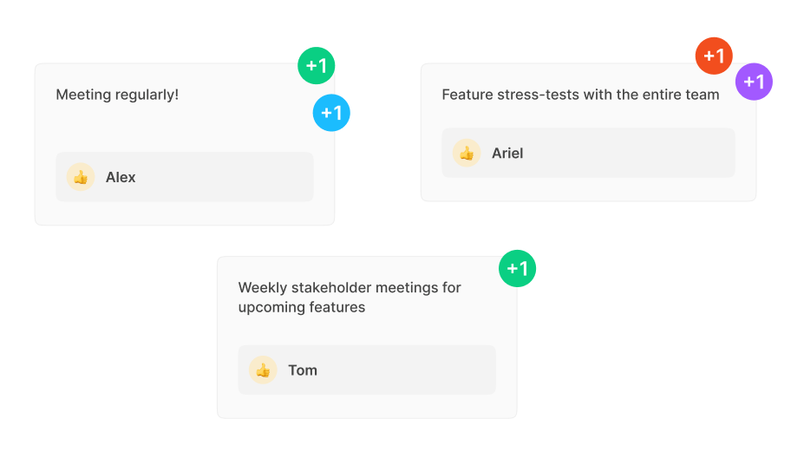
Teams will often “+1” an item to communicate agreement or indicate that they’d like to discuss it further. If members of your team do this, I recommend creating a new component for it! Just as with the sticky note component, they can create copies, and adjust the size and color of their own instances.

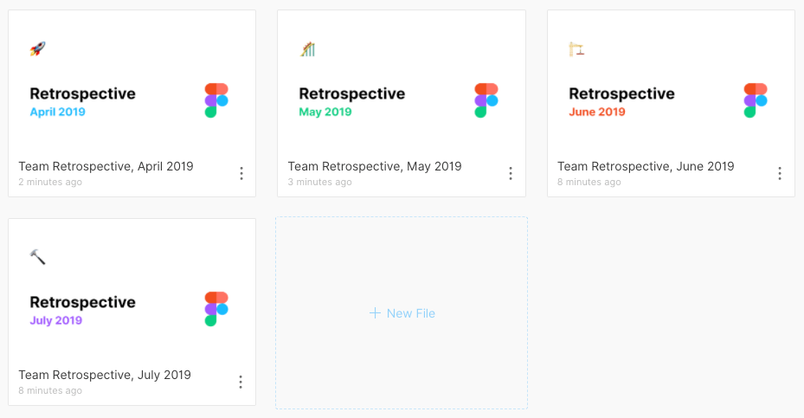
3. Create different cover pages
The first page of your Figma file can be turned into a cover page. If you plan to create a new file for each retrospective, it can be fun to get creative with theming them.

Inspiration for future collaboration
I hope this quick and easy idea helps you think of more lightweight ways to get your team collaborating in Figma. Come find us on Twitter and let us know what you come up with! To help get you started here is a retrospective template.