#FigmaTip Roundup: Spring cleaning edition


The sun is out and the flowers are starting to bloom, which means it's time to welcome Marie Kondo into your Figma account for some good ol' Spring cleaning!
Share #FigmaTip Roundup: Spring cleaning edition
Who ever said you had to limit spring cleaning to your bathroom drawers?
The sun is shining, flowers are blooming, and your Figma files are hankering for some love. Give 'em the 'ol KonMari treatment, with this latest installment of Figma Tips.
We gathered all the best techniques to tidy up your Figma world, like using frames to organize components or shortcuts to rename your layers en masse. See what sparks joy in your designs with these ideas and more.
Batch Rename
In every epic, long-standing design project, the layers panel deteriorates over time. You create, duplicate, and adjust a ton of layers, with a lot of them being similar or related, and as a result, your layers panel becomes a sea of names lost without context. However, to fix this, it can be quite a painful process to go back, one by one, renaming everything to your liking.
This is where our batch rename feature comes in handy! With a few clicks, you can give all of your layers the proper names they deserve.
To use it, start by selecting multiple layers then right-click and select Rename or use the keyboard shortcut Command + R.
From here you have a few options:
- Rename everything with the same name
- Add a numerical suffix (shown above)
- Add a prefix
- Rename part of the layer's name.
- Use Regular Expressions for even more control over naming. (advanced)
I highly recommend checking out our help article on bulk renaming as it dives deeper into each of these options.
Add custom thumbnail image
When you add a custom thumbnail image to your Figma files, it can greatly help in keeping things organized and easily scannable. We know this Figma tip Welcome to our #FigmaTip Roundup where we pull our favorite Figma mini-lessons from the design community.

#FigmaTip Roundup 8.0
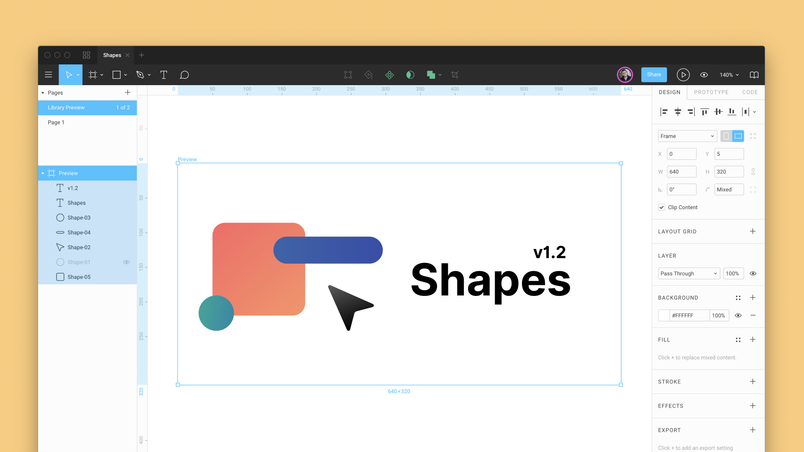
- Create a new page and move it to the top of the pages list. You can name it whatever you'd like.
- Add a single frame sized at 640x320 to your page. From here you can add a title, description, images, etc.
- Make sure the frame background color and the canvas background color are the same. In the example below I have mine set to
#FFFFFF.


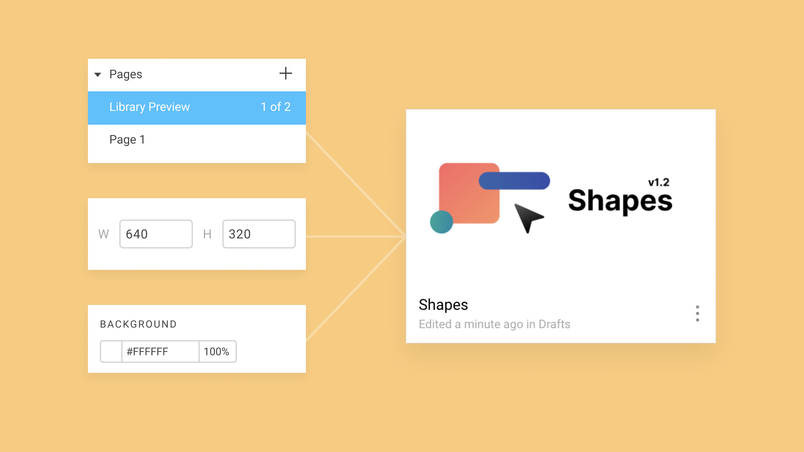
Adding custom thumbnails makes browsing through your files easier. You can also use them to communicate project status, versions, etc.
Sort your file browser
When it comes time to organize and clean up your files, take advantage of the sorting options in the file browser. By sorting by File Name, you can find all the files named "Untitled" that you probably don't need. Other options: Sort by Date Created and Last Modified.
Remove components from Team Library
Spring cleaning is a good opportunity to air out your design system and component libraries. Do all your components make sense to everyone on your team? Are there redundancies? This could be base components like a button background or just a component that is no longer needed. To clean up your library all you have to do is go to the components tab, right click, and select Remove from Library.
You can also achieve this by adding a . or a _ to the beginning of the component name.
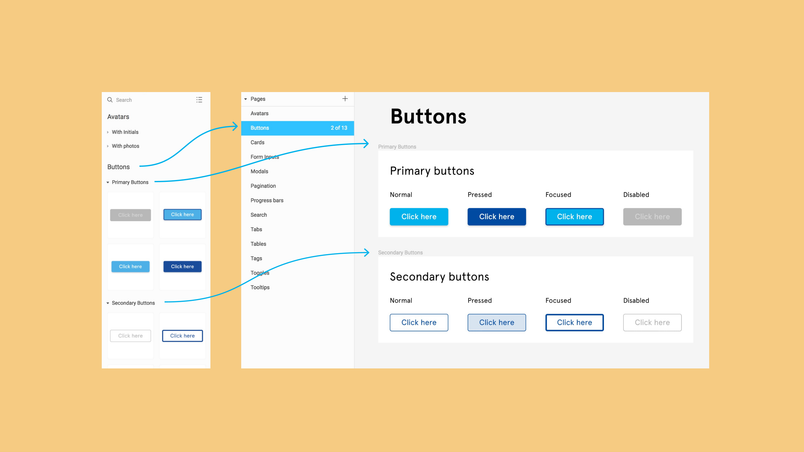
Organize with frames and pages
What good is a library if it isn't organized? We recommend using frames and pages to organize your component libraries and design systems into collections that make sense for you and your team. By doing this you can cut down on all the forward slashes and keep your component names nice and simple. This also helps your team browse through your library with ease!

Looking for a deeper dive into how to get organized in Figma? Check out our recent Multiplayer Live Session where we go through some of these tips above and more! Have a favorite tip or trick? Be sure to let us know on Twitter with #FigmaTip.
Happy Spring Cleaning! 🌸