How we use Figma templates to facilitate collaboration at Shopify


The team at Shopify shares a framework for managing projects in Figma, including a template you can use to collaboration across your organization.
Share How we use Figma templates to facilitate collaboration at Shopify
“Which of these designs are the latest ones? Has this layout been approved and is it ready to be implemented? Which prototype are you planning to test with your users?” Some of these questions might sound familiar to you.
Tools like Figma make collaboration effortless. However, this also introduces complexity in communicating states or processes and navigating files and artifacts that are being created over time.
I’m a Staff Product Designer on Shopify’s Retail Foundations team. Our team works on global features within Retail but we also provide tools like the Polaris for Retail design system, guidelines, templates, and documentation so that other teams can do their best work.
Over the last few months we were part of many conversations where team members shared feedback on how we organize our files in Figma. It turned out that with people using different approaches for this, it became increasingly difficult for other disciplines like product or engineering and even for colleagues working in UX to find specific information within a file.
The format laid out in this template creates a predictable structure that other disciplines can expect when navigating between files while also helping teams and individuals in getting set up faster at the beginning of a project.
How to use this template
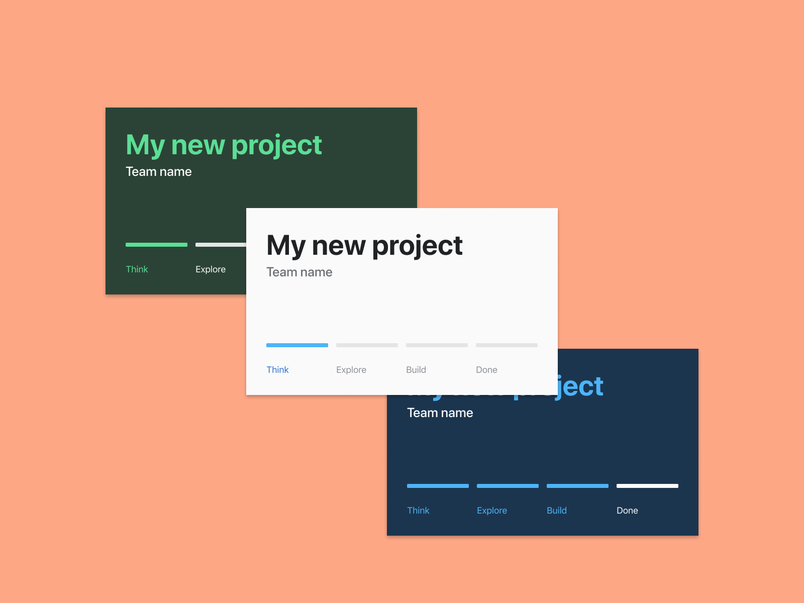
Get Sh*t Done (GSD) is a light-weight, common-sense framework to manage projects across Shopify. By design, GSD offers a minimum process for maximum value. GSD has 3 phases: Think, Explore, Build.
The page structure of this template follows the reverse order of the GSD process. In order to offer the most important information first we show what’s ready for build at the top of all pages. You’ll want to have people spend most of their time in the first few pages of your file.
As you create a new file and after creating a cover and a project overview, make sure to start filling the pages in the Think section with content first.
Once you move into the Explore phase create as many new pages for new explorations and prototypes as you want. This is your playground and place to go both broad and deep!
As soon as you’re ready for Build simply take some of the pages or layout that made the cut and move them from your Explore section into the Build phase.
Let’s dig into some more details for each of these sections.
It all starts with a cover
Start a new file by customizing the cover. This allows you to share high level information like the project name, the team that’s owning the project and the status of the project. Having a cover also makes it easier to find the file you’re looking for in the grid view of a Figma project.

Project overview
The overview page is another opportunity to provide more context. Help others with finding additional resources and provide information on who they can reach out to with feedback or questions. Feel free to add or remove sections and line items as needed and consider adding separate links to documents like project briefs or research.


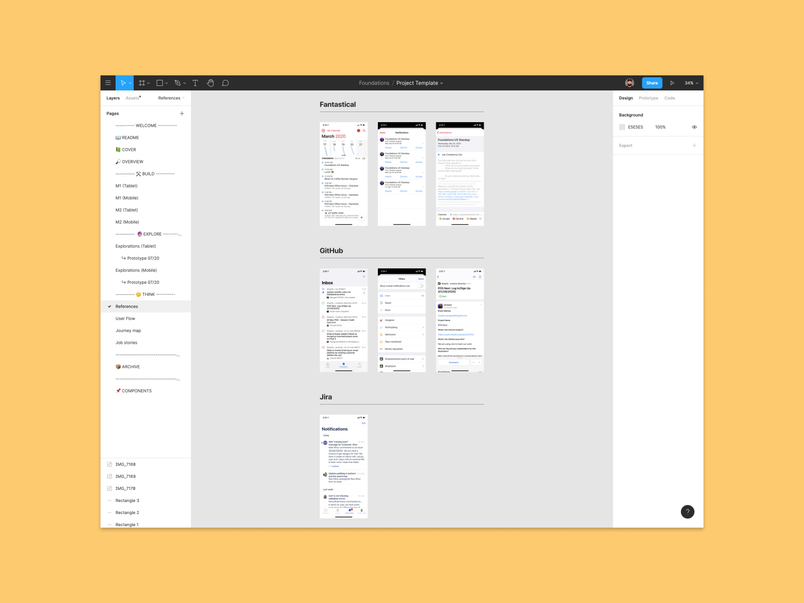
Think
Understand the problem space
This section should be used to create the foundation for your project. Collect all the information that you need to make this project a success. This is where you can create user flows or journey maps, link to other documents, write down job stories, add photos of design sprint explorations, or you can simply add screenshots or old designs for inspiration.

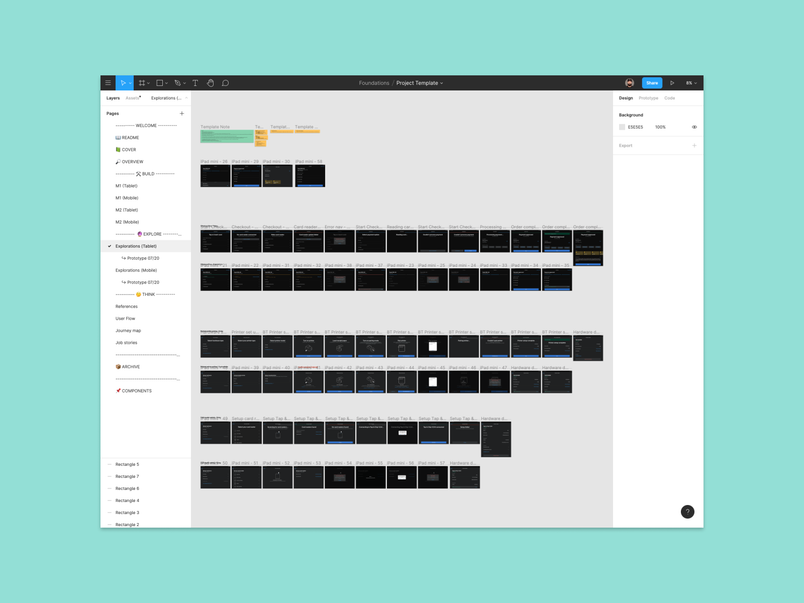
Explore
Diverge and converge to explore possible solutions
Feel free to use pages in this section as you please. Explore as many different approaches and options as possible. This will most likely be the section where you’ll collaborate most. Get ready to see tons of comments and feedback here!
Even though you’re free to use these pages however you want, here are a few things that we learned are really helpful.
- Create separate pages for explorations for different devices or form factors (tablet vs mobile for example)
- Add titles to your explorations and flows to make it clear what people are looking at
- As you make progress, add badges to indicate what state explorations are in
- Add a date to every new page that you create to indicate how up to date your work is
- Consider using separate pages for prototypes that you want to test with your users
- Use the sticky note component to add notes, share thoughts or simply to collect feedback and ideas that you want to work on

Build
Converge to build the right solution and release and receive feedback
As soon as you’re ready to move your project from the Explore to the Build phase simply move some of the pages from your Explore section and move them into Build. Ideally the number of pages shown in Build is limited. This is not the time and place to explore further options; this is where things should be ready for implementation.

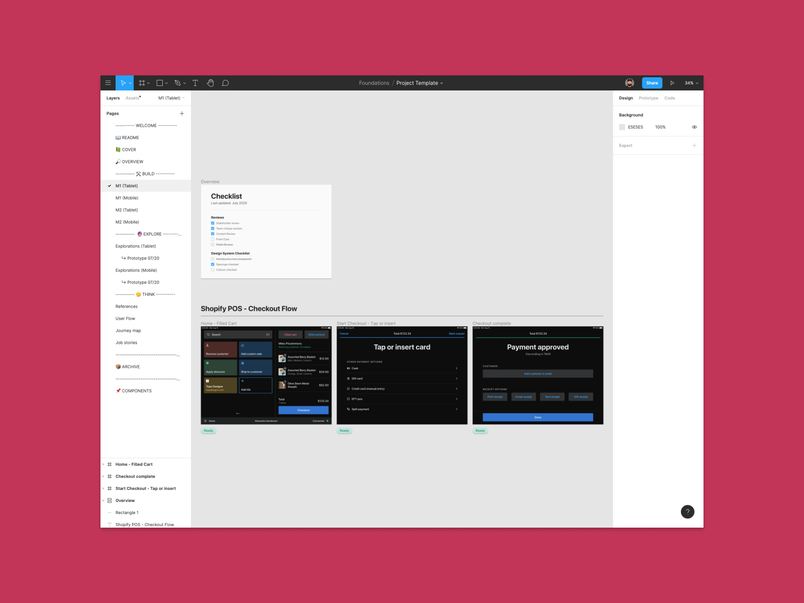
Here are a few more tips and how to be as efficient with this section as possible:
- Create separate pages for each milestone of your project
- Create separate pages for designs for different devices (like iPhone vs iPad)
- Be clear with when you last updated the designs in this section
- Links to these pages can be very useful in issues, tickets or tools that you’re using to track the progress of a project
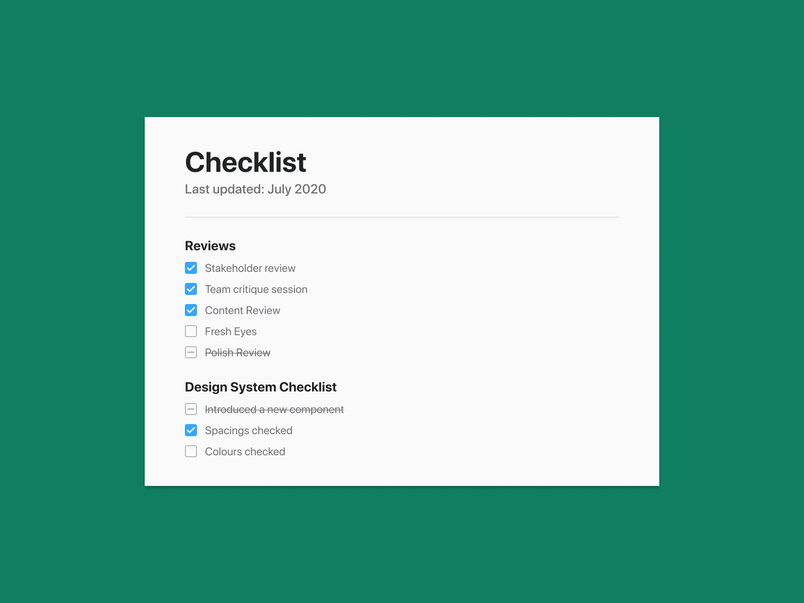
- Use the checklist as a reminder for processes and reviews your designs need to go through before they can be implemented.

Archive
Use the archive for any designs or pages that didn’t make the cut. You can add things here as a reminder in case you want to get back to these explorations at a later time. This is especially useful for longer and more complex projects that span multiple months.
The pillar of good design is great communication. With this design template encompassing a collection of best practices, you will be able to communicate your design decisions to co-workers and stakeholders more confidently and with more ease. We hope this framework helps you create, align, and contribute to your best work yet! To get started, check out the template.