The Figma prototype challenge: 15 tips in 15 days


One of our Designer Advocates recently kicked off a two-week prototyping challenge to help teach the community about advanced prototyping techniques in Figma. Check out all of Ana’s 15 tips here.
Share The Figma prototype challenge: 15 tips in 15 days
Whether it’s for user testing, developer handoff, or critiques, high fidelity prototypes allow designers to test, experiment, and iterate to align on the right solution. We recently released some prototyping updates, including interactive components Today, we’re introducing interactive components and a handful of smaller improvements to empower teams to more quickly explore, iterate, and share.
Interactive components: Less wiring, more inspiring
Last month, I kicked off a 15-day prototyping challenge to help the Figma Community learn how to take advantage of these new features and level-up their prototyping game. We started with some basic prototyping features to set the foundation, then graduated to more complex prototypes. There were some great responses, like this map prototype and this digital camera animation.
Whether you want to do your own challenge or just learn some best practices, I’m sharing a recap and all 15 tips, along with Figma Community files to get you started:
Day 1: First up: smart animate. Smart animate is a great transition to use when creating high fidelity prototypes. It can also be used in conjunction with other transitions—which you'll see next—and can be achieved by preserving layer names between screens.
Day 2: Smart animate matching layers allows you to combine preset transitions (slide, push, etc.) with smart animate. One use case is for building a prototype with tab navigation.
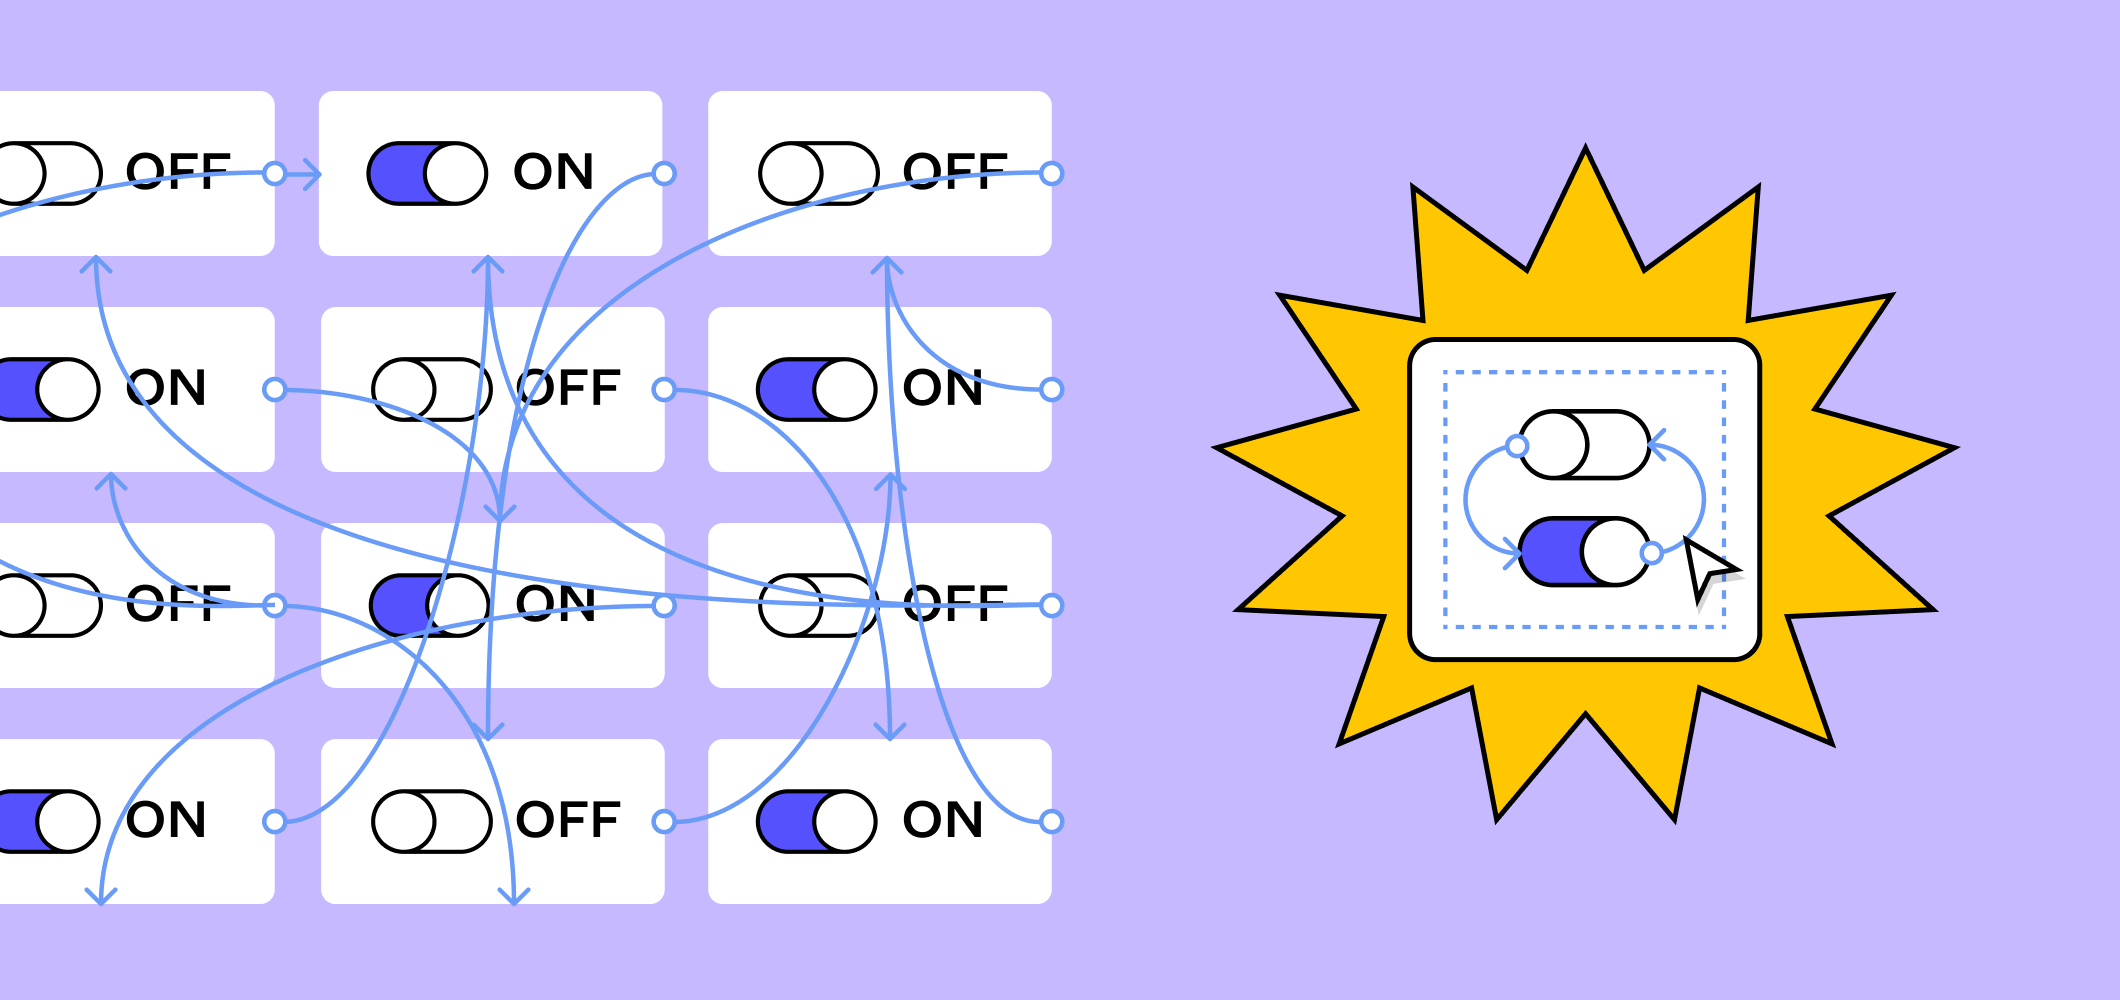
Day 3: Interactive components (IC) let you to define interactions and animations between variants in a component set, so instances are immediately “alive” in prototyping mode. By drawing prototyping links between a component’s variants, you can build interactivity into components, reduce prototype size and complexity, and demonstrate microinteractions.
Day 4: Building off of that, you can nest IC to create components with more built-in interactions (such as the list items below) while reducing the number of prototype links needed between component variants.
Day 5: We wrap up the first week of challenges by using all prior concepts to create a mobile prototype with an interactive bottom navigation. This challenge also demonstrates the concept of inheritance, in which larger components inherit the interactions of nested components, and screens inherit the interactions of components inside them.
Day 6: One of our other recent prototyping updates Today, we’re introducing interactive components and a handful of smaller improvements to empower teams to more quickly explore, iterate, and share.Interactive components: Less wiring, more inspiring
Day 7: In this challenge, we’re using “on drag” to trigger a slide in + smart animate matching layers transition (Day 2’s topic) to create a dynamic scroll effect.
Day 8: You can use the concepts from the two prior challenges to create this drag-to-delete interaction. Each slot is an IC with a delete interaction that triggers on drag. Because the list of items is in an auto layout container, when one is deleted, the other shifts up to take its place.
Day 9: You can also use IC to create a cyclic animation—such as a loader or the recorder shown below—by cyclically connecting your IC variants to each other.
Day 10: After practicing with auto layout and smart animate from the prior challenges, you can focus on using them to create parallax effects. Timing and spacing are key—even if two layers are animated at the same time and duration, if one moves further, it will move faster.
Day 11: In the final week of the challenge, we’re slowly building up the elements needed to create a high fidelity map prototype with multiple points of interaction. In this first part, you learn how to use Figma’s “scroll to” feature.
Day 12: Then, we combine on drag and smart animate to create a map zoom-in/out effect.
Day 13: Overlays in Figma prototypes are great for designs that have modals, menus, and tooltips. In this example, we're using overlays to show tooltips when each location pin is hovered over.
Day 14: Finally, we bring together the three previous prototypes into one high-fidelity map prototype!
Day 15: We wrap up the Figma Prototype Challenge with one final fun, open-ended prompt to create an interactive illustration. Kirby is waving via a mouse enter triggers + smart animate transition.
It was so much fun to see the prototypes inspired by these challenges. Check out the Figma Prototype Challenges in the Figma Community to try your hand at building some of the prototypes above. Happy prototyping!
Ana Boyer is a designer advocate at Figma, where she is building community and empowering design teams across industries. She believes in collaboration and iteration and is always looking to build systems and establish processes where there is ambiguity.