
10 real-world vibe coding examples to jumpstart your AI workflow
Explore 12 real-world vibe coding examples that show how to build apps from prompts. Learn a workflow to turn your best ideas into functional prototypes instantly.
Skip to main content
Building with AI

When you’re prompting an AI tool, words can only describe so much. It’s often easier to show what you mean with a screenshot or a design file than to explain the layout in your head. Visual prompt engineering pairs a prompt with a visual reference so the AI can see what you want, rather than just reading about it.
So much of that work already runs through a prompt box. According to Figma’s 2025 AI report, 68% of developers use prompts to generate code, and 82% say they’re happy with the results. But text alone still leaves plenty for an AI tool to guess, and a well-chosen image fills those gaps.
Read on to learn:

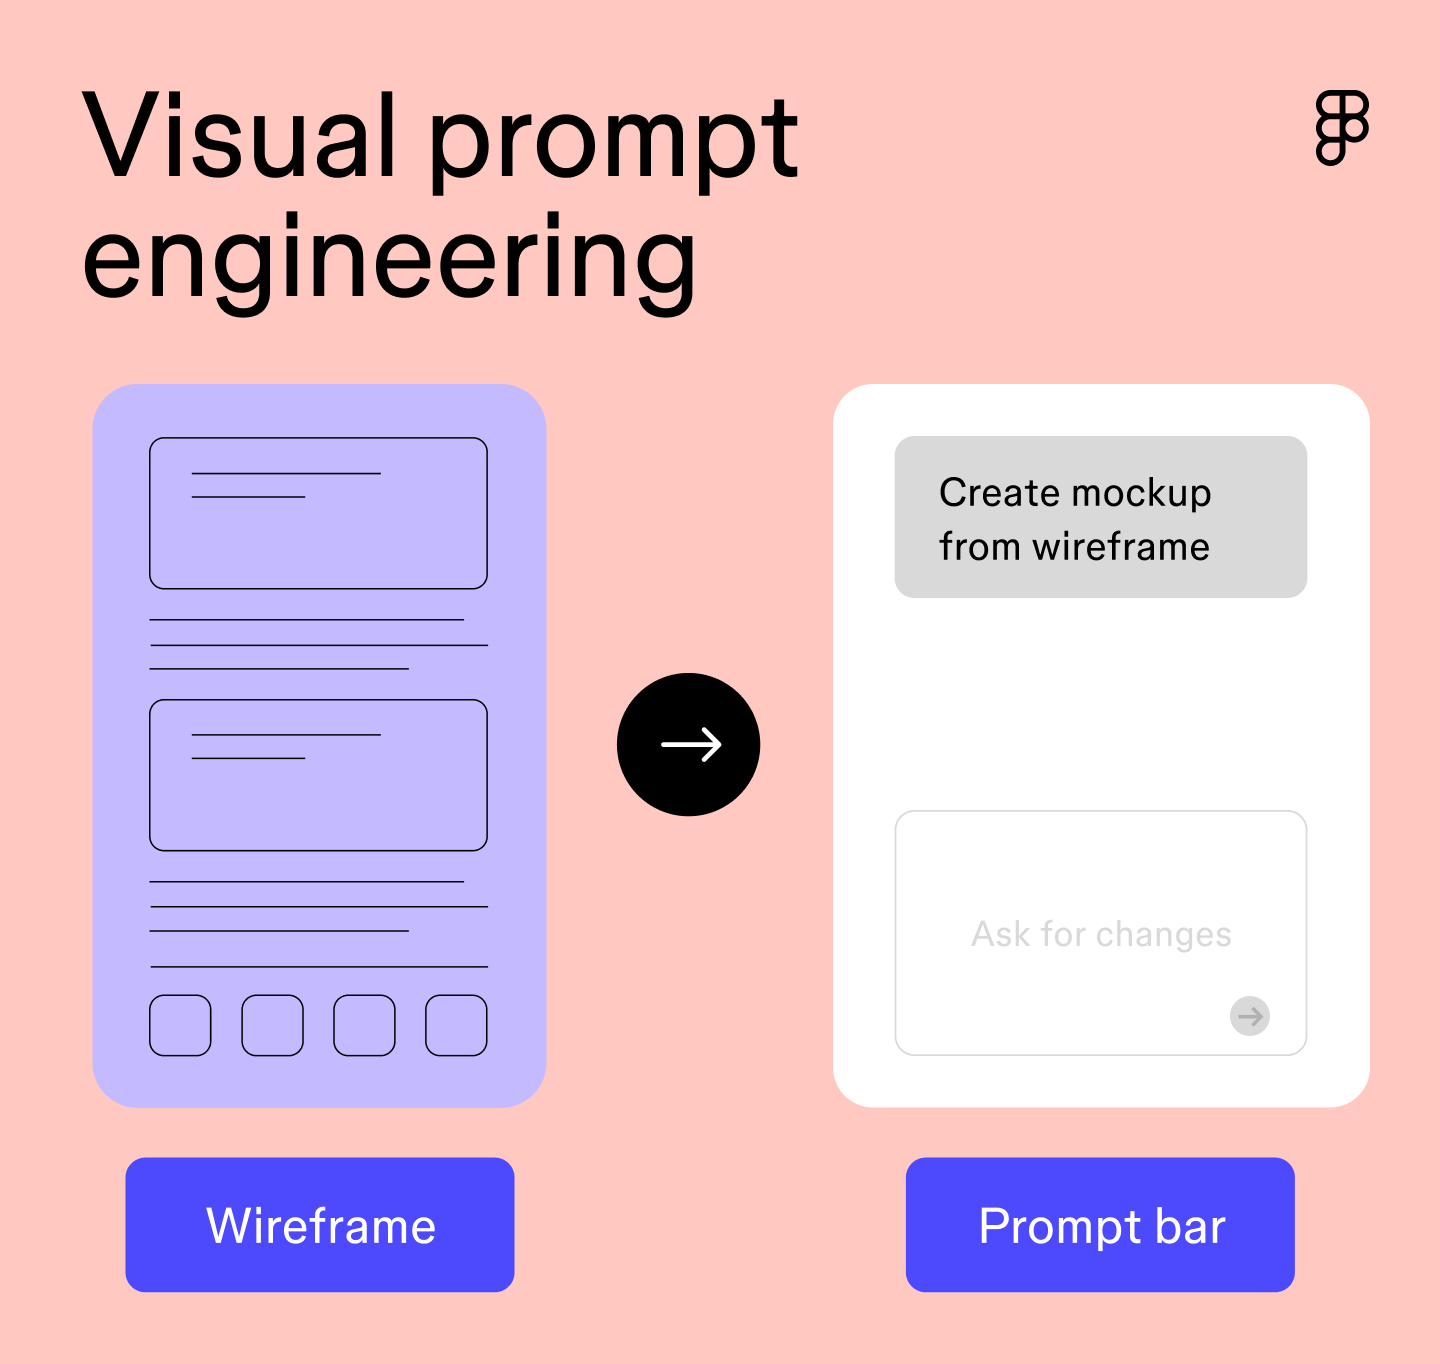
Visual prompt engineering is the practice of attaching an image to your prompt to give an AI model context. Designers and developers do this when details like spacing or visual hierarchy are faster to show than describe with words.
For example, a developer might paste a screenshot of an existing interface into an AI coding tool to speed up a rebuild. Or a designer might upload an image to AI and ask it to match that style. Either way, it beats trying to describe a design in words alone.
An image or screenshot is a fine starting point, but it doesn’t tell the whole story. Once you flatten a design into a static image, the AI only has pixels to work with. It can’t see your brand colors or the exact spacing you used, so it fills in the blanks with its best guess. That’s usually where manual cleanup starts.
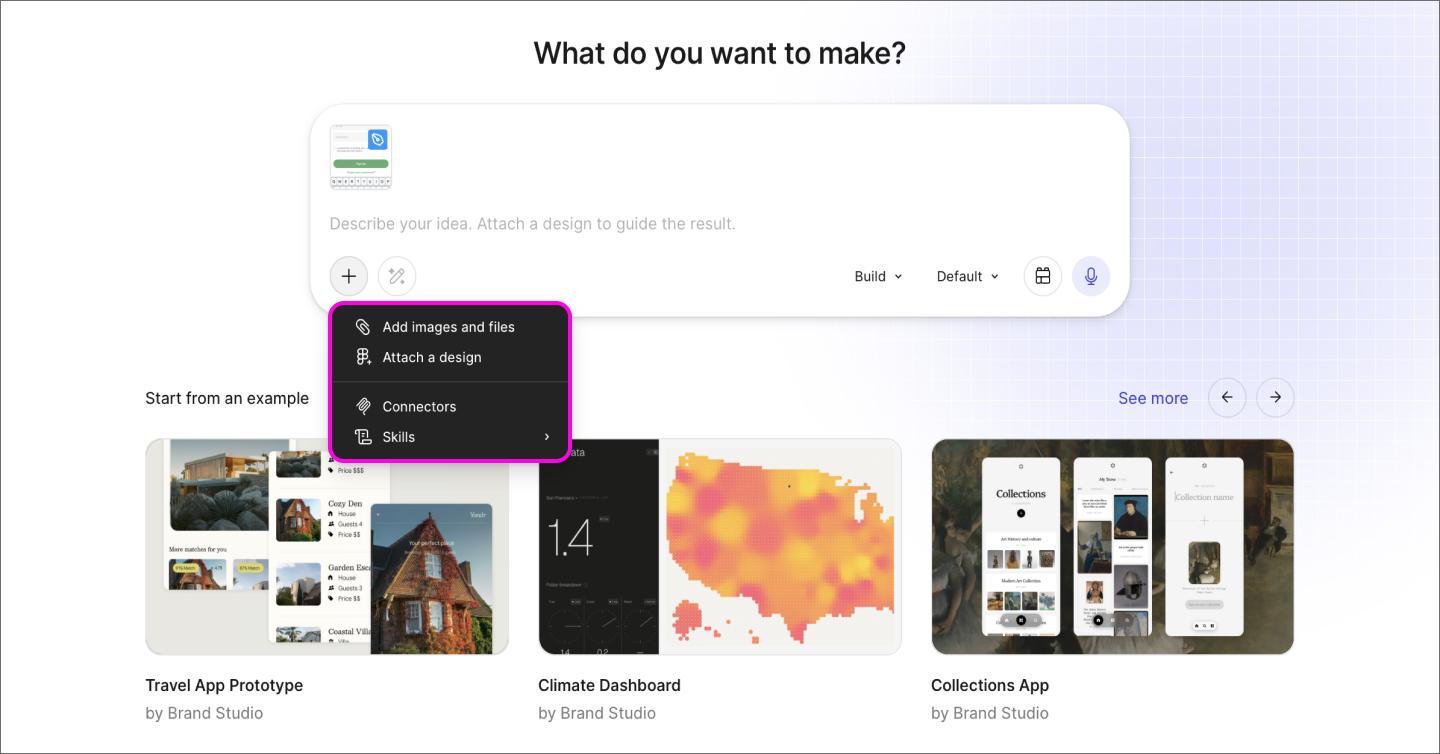
With Figma Make, you can attach a live frame directly from your design file. Because Figma MakeI reads the file data, it already knows your color styles and component names, which means you’ll spend a lot less time cleaning up than you would starting from a screenshot.
Figma Make lets you attach a live frame, so your prompt already has the context a screenshot leaves out.
A good visual prompt comes down to the image you choose and how you explain it. Get both right up front, and you’ll spend less time correcting the output. Here’s how to approach each step.

Start by deciding what you want to show the AI. Not every reference serves the same purpose, so match the image to what you’re trying to fix or build.
A busy screenshot can bury important details. If the AI has to guess what to focus on, it might latch onto the wrong element entirely, like resizing a whole card when you meant to only fix the button inside it.
Mark up the image before you attach it by adding an arrow or annotation. Most screenshot utilities have a built-in markup feature, or you can drop the image into FigJam and sketch on it there.

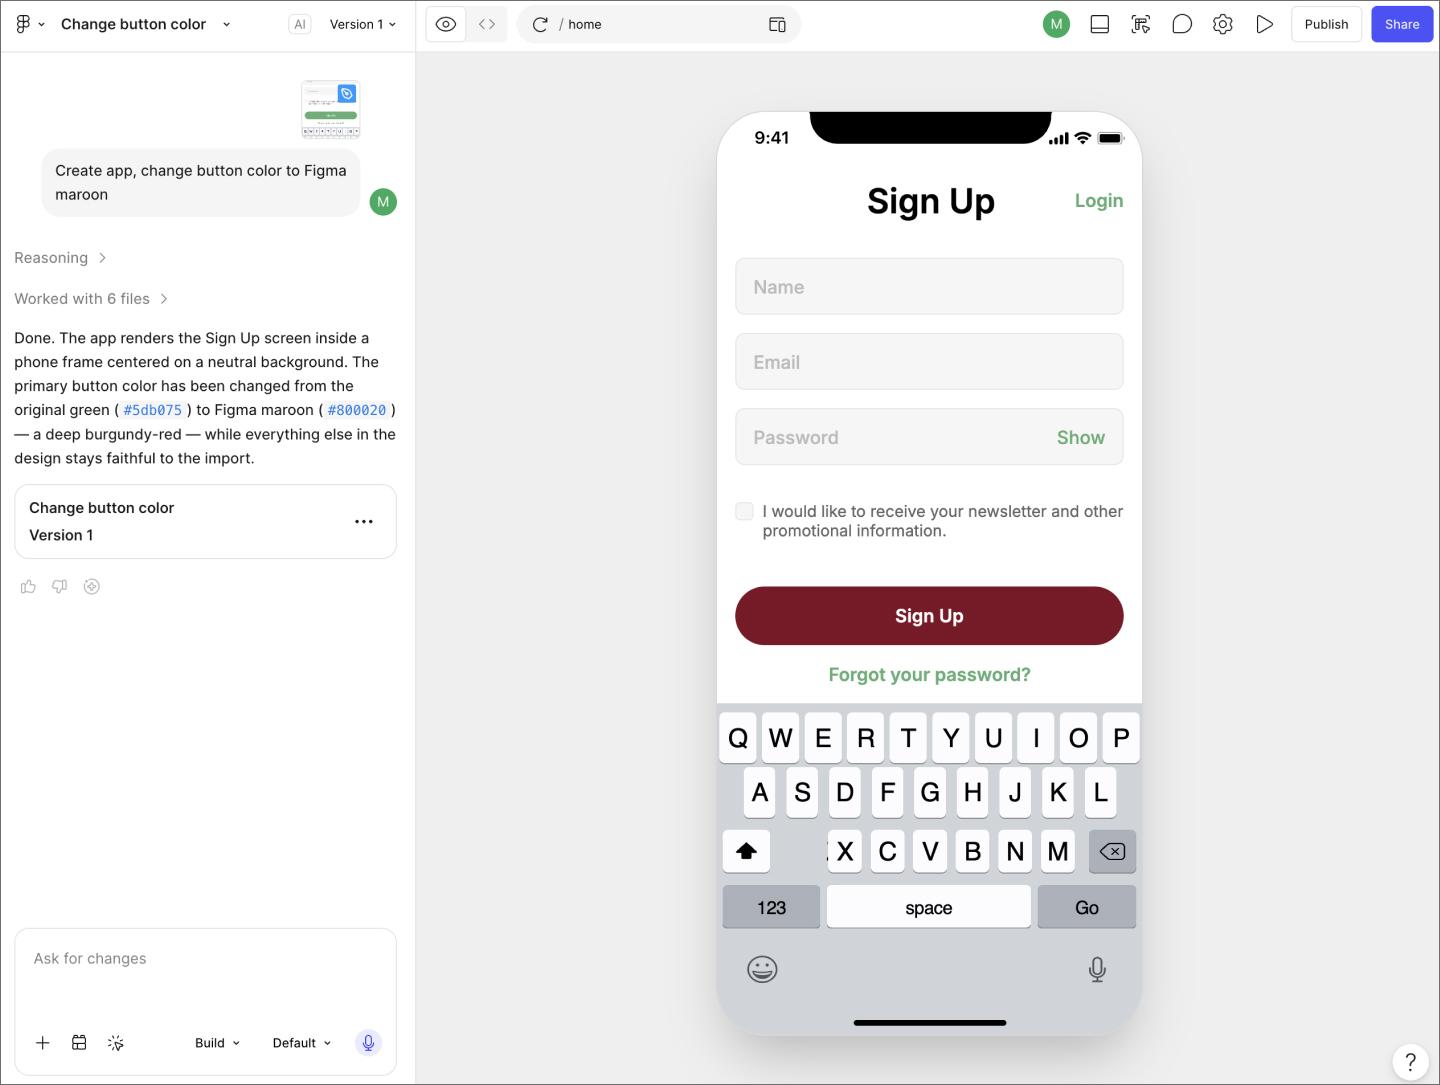
The image shows the AI what you mean, but you still need text to tell it what to do. In Figma Make, this text goes right alongside your attached image in the same prompt box.
Your written prompt should cover:
The first result rarely matches the reference exactly, and that’s expected. Visual prompting works best as a back-and-forth. If the spacing or structure is off, say so directly and point back to the same image. A follow-up like “match the button spacing to the reference image, not what you just generated” keeps the AI anchored to the original design.
Once the output looks close, compare it side by side with the reference image. Check that spacing and hierarchy match, and confirm interaction states like hover or focus behave the way you designed them to. A result that looks right in a single screenshot can still miss details that show up only in the working version.
Most weak results come down to a handful of avoidable habits:
A quick check against this list before you send the prompt can save a full round of cleanup afterward.
Not exactly. Prompt engineering is the broader practice of writing clear instructions to get better results from an AI model, and it’s almost always text-based. Visual prompt engineering adds an image to that instruction, so it’s a specific technique within prompt engineering rather than a separate discipline.
No. Attaching an image to a prompt doesn’t require any coding knowledge, whether you’re using Figma Make or another AI tool. That’s part of the appeal for designers who want to guide the output without writing code.
Most modern AI coding and design tools support attaching an image to a prompt, including Figma Make, ChatGPT, and Claude. The specifics vary by tool: some only accept flat images, while Figma Make can also work from a live frame pulled directly from a design file.
A screenshot gets you part of the way there, but visual prompt engineering only works best when the AI can see your actual file. We built for that at every step, from the first sketch to finished prototype. Here’s how to bring it all together:
Figma Make lets you attach a live frame from your design file, so your prompt has real context to work from.
Explore 12 real-world vibe coding examples that show how to build apps from prompts. Learn a workflow to turn your best ideas into functional prototypes instantly.

Learn how to use AI for product design 7 different ways. Turn your ideas into working prototypes faster with prompt-based design and collaborative creativity.

Find some of the best AI design tools for 2026. Compare tool capabilities and benefits to streamline your design process and boost your creativity.

Discover how to build an app with AI in this 7-step guide. Prototype and build apps in minutes, no coding required.

Discover AI tools for UX designers in 2026 to streamline your design process, improve productivity, and enhance user experiences with cutting-edge technology.

Design tokens are the shared language your team needs to scale. Learn how to build a resilient hierarchy in Figma and bridge the gap between design and code.
Build faster with Figma's agent